

A little drawing, a little painting, a little crafting, a little knitting...
Sunday, May 31, 2015
Sunday, May 24, 2015
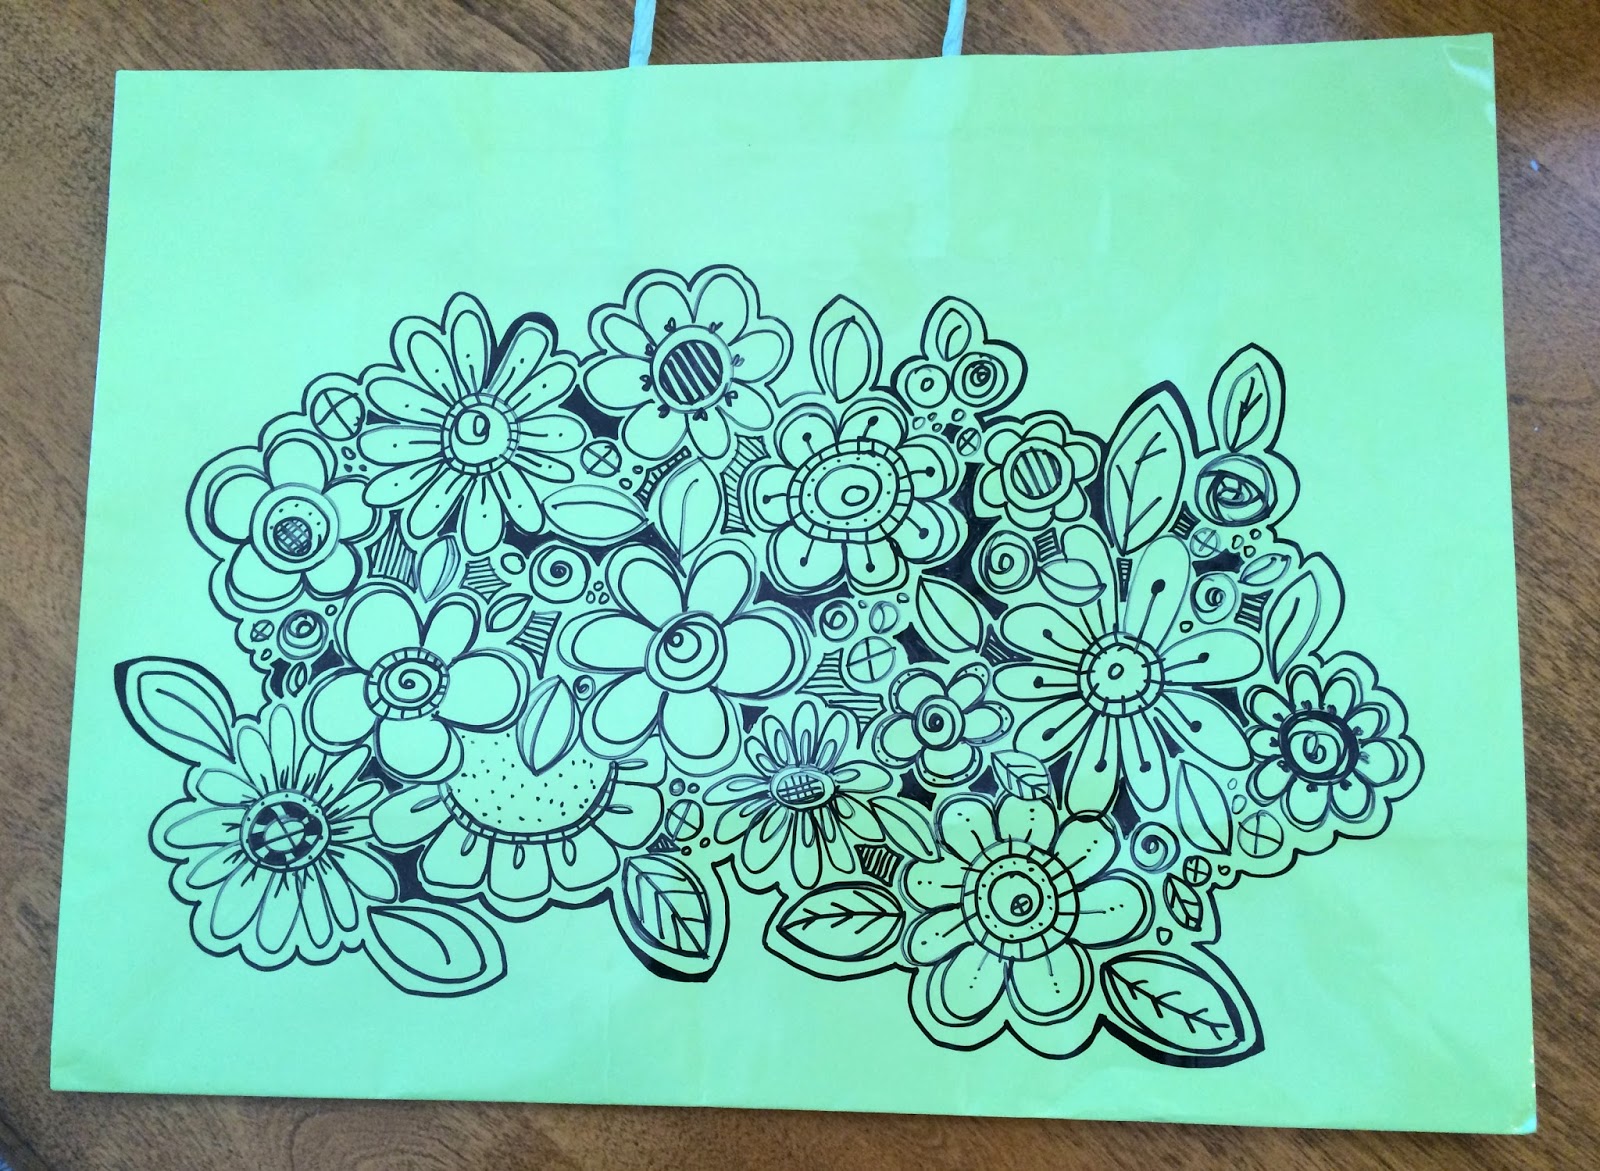
Sunday Sketch - May 24, 2015

The bag seemed plain and boring so I just grabbed a Sharpie and had some fun. This way of doodling is fun and relaxing. I love it!!
Friday, May 1, 2015
First Friday Art Class for May 2015 - Paper Beads and Bows

Today we'll be folding and rolling paper to make bows and beads.
I made this little handout so they could not only see, but feel the papers I'd be talking about:

Copy/Printer Paper - this paper is ideal for photocopies and printers (of course), but it's also great for many paper folding projects. It's not too stiff yet holds its shape quite well. We used this to make the pink and blue bows pictured above.
Book Pages - book pages tend to be a bit thinner than copy paper so if you paint or use ink on them, you have to be careful. Book pages are readily available and can be used to create really lovely items. Book pages are also great for paper folding projects. We didn't make any bows with the book pages today, but if we had they would have been really pretty. Several of the girls did make beads with dictionary pages today.
Origami Paper - great for origami--obviously. The beauty of origami paper is that you can have one color on one side and another color (many times white) on the other and yet the paper is still very thin and pliable. A bit too thin and pliable for our use today.
Scrapbook Paper - called scrapbook paper yet used for SO many other things. I have a bit of a....
Card Stock - We've used card stock a lot in the past. We drew our Koi Fish on card stock and then mounted them on a piece of colored card stock. We love card stock! But not for paper folding projects. It's just too stiff. It's hard to fold and can sometimes almost crack as you fold or roll it.
Watercolor Paper - this varies in weight considerably. Great for ink and watercolor. We loved it when we made our Inchies! Not great for folding and rolling. I wanted the girls to feel the thickness and talk about why paper that thick just wouldn't work for what we're doing today.
With that brief discussion of types of paper, we dove right in to our projects. I showed them both projects--the bows and the beads--from start to finish so they could then work (somewhat) independently and at their own pace. It was good to have the bows to work on while they waited for the Mod Podge to dry on their beads. Most of the girls took extra templates of the bows home to make more when they got home.
We made paper beads using this exact method from Kristy Neale found HERE. I had templates cut out for the girls to make things go a bit smoother. For wider beads they chose the 8" x 1-1/2" template. For beads that were a bit narrower they chose the 8" x 1-1/4" template. Once the beads were done, the girls painted a light coat of shiny Mod Podge on them. Then when that was dry they strung them on cotton string.


Our second project was paper bows. We used the template from How About Orange found HERE and also the template from Lia Griffith found HERE. I like the finished shape of the How About Orange template a bit better, but Lia Griffith's site has several different sizes on one page which is awesome.
We used the How About Orange template to make the plain pink, plain blue, and gold bows and the map bow. We used the Lia Griffith's template to make the pink polka dot bows. (The tiniest one is SO cute!)

We used clothes pins to hold the center while the glue dried and while we cut out the next piece. This will make your bow making much easier!!

Not a lot of "action shots" today as these were such hands-on projects. Most of the time I was helping to roll beads or string beads or choose paper with the girls.
We had a great time and it was a great way to end our 2014-2015 session of classes!!
Subscribe to:
Posts (Atom)