Monday, September 9, 2013

Newest Name Signs

I went to a baby shower for two friends recently. One friend had already had her baby. So that was easy--name sign could be made.
(Cody is adorable BTW!)

But what to do for the friend who's baby hadn't come yet?

Here's my solution...
 I made her a little gift box
And inside I put a sort of coupon for her name sign letting her know that as soon as I know the baby's name, I'll make her a sign.

Sunday, September 8, 2013

First Friday Art Class for September 2013 - Paper Sculpture Apples

We are back after a hiatus for the summer. We're on our third year of doing this class and I am so excited to get back to it!!

When I think of September I think of apples. We did a really fun art piece today based on apples. I found the idea for this project HERE. When I saw it I knew the girls would love it!

And then I went crazy creating samples for them to see...


When the girls arrived I had most of the supplies already laid out and ready to go.
They each had several dictionary pages for the "core" pieces, a pair of scissors, and a template for the smallest piece. I didn't want them getting bogged down with the initial shape. So I just quickly cut some templates out of an empty cereal box.
I also laid out lots of red and green printed scrapbook papers. (Many of them were Christmas papers, but you see so little of it, you can't even tell--so this is a great project for stash busting your scrapbook paper). Oh, and we had our usual September class treat--caramel apple suckers.

We talked about how art can help you with problem solving and spacial solutions. I asked the girls where on the apple they thought we should start--the biggest pieces at the back or the smallest core piece? Your first thought may be the biggest piece. But we discussed why you'd start with the smallest and go from there out.

We also discussed other shapes that would lend themselves nicely to this project. We came up with hearts, circles, trees, and flowers. 

So here are the steps (paperkawaii has wonderful in-depth instructions on their site!):
1. Cut out your pieces--starting with the book pages, moving out to the printed papers. For our apples we did about 4 layers of book pages and 3 layers of scrapbook paper. Don't forget the stem and leaf.
2. Distress the edges of each layer.
3. Assemble the apple.
4. Sew or glue the layers together (I did the sewing for the girls).

The girls then decorated a piece of MDF (that I had painted white before class) with stamps and ink. We then mounted their apples on the MDF with Mod Podge.

Here they are all at work...

The girls did wonderfully on their apples. I love how they're all so different and all so beautiful.


Sunday, August 18, 2013

Sunday Sketches and How I Draw Everywhere

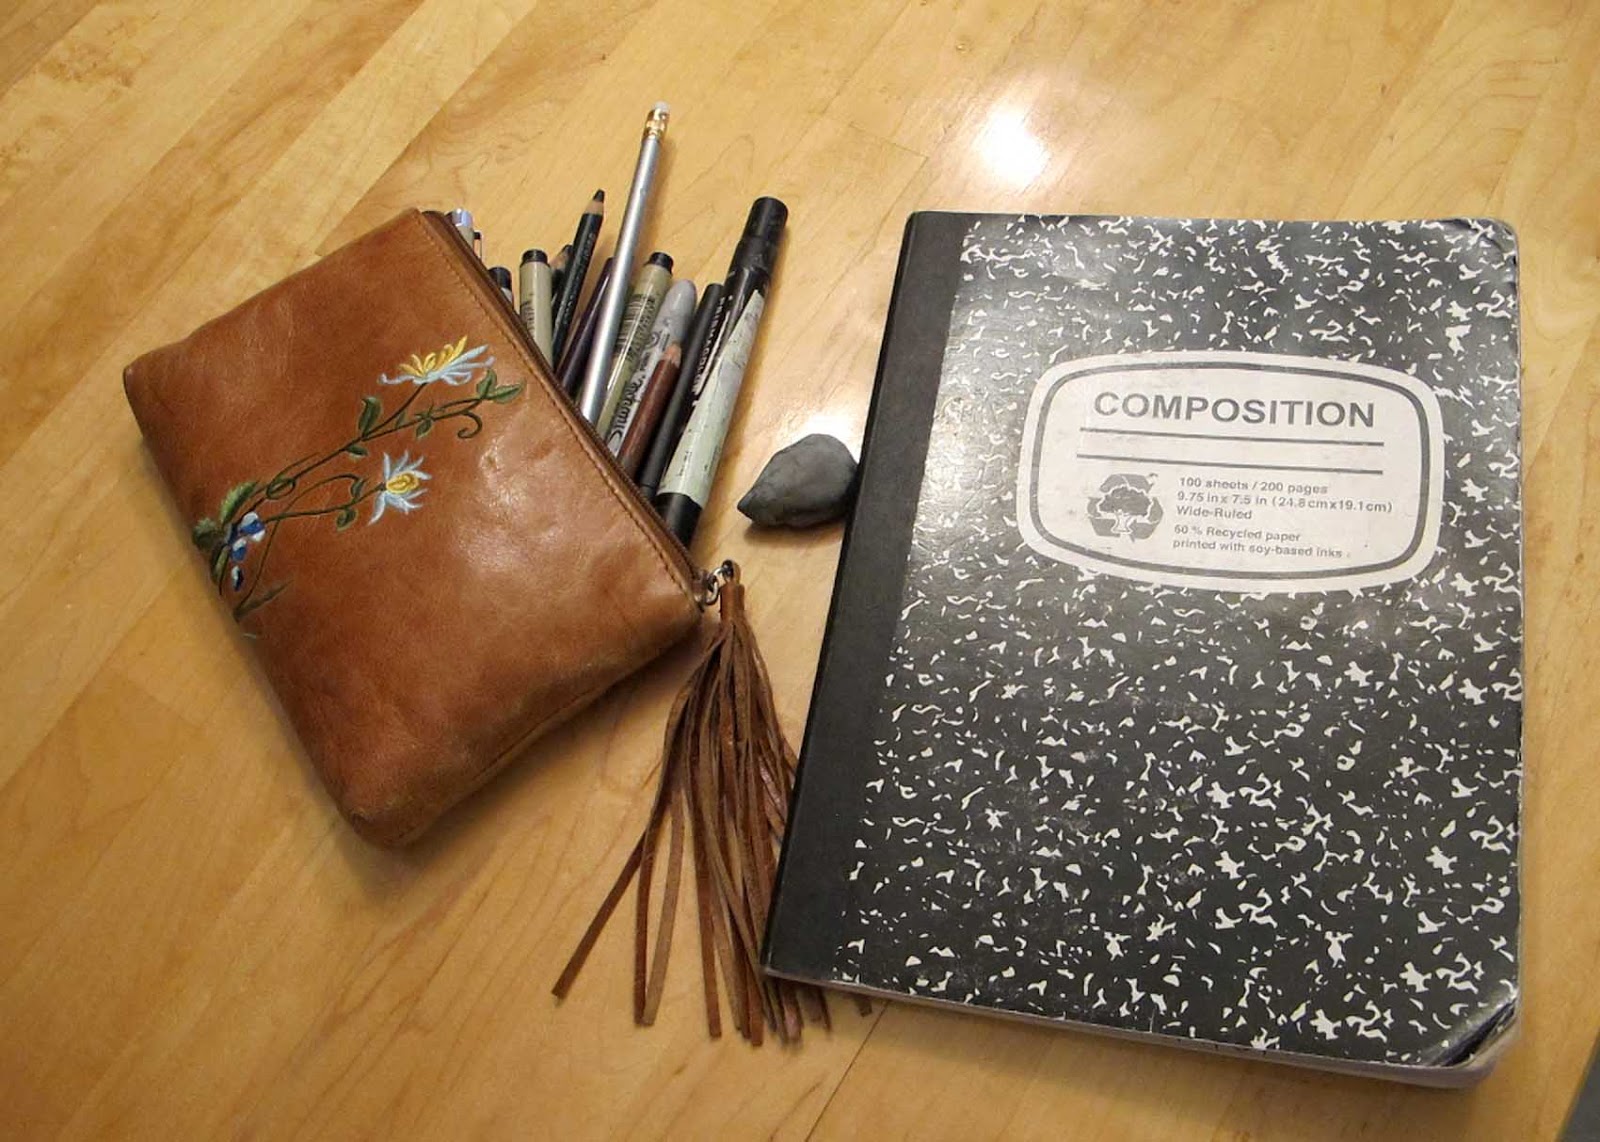
I like to carry some drawing materials with me wherever I go. I had to set aside my pretty, perfect aqua purse that I bought in Las Vegas because it wouldn't fit my composition book and pouch of pens and pencils. THAT'S how committed I am to taking this stuff with me! :)
I like to have a composition book or little notebook, several pencils and a tiny sharpener, a kneaded eraser, some felt tip pens and some random Prisma colored pencils and 1 or 2 Prisma markers. Most often I just use the felt tip (I prefer a Papermate Flair) but I like to have the other things available if I feel like adding some color.

What's in my composition book? I take notes in meetings I'm in, I write journal entries, I do drawings and basic doodling.

This page was done while watching "Liar, Liar"--a movie I've seen a bunch of times so only need to half pay attention. That way the other half of my attention can be on my lettering. Plus I like to keep my hands busy when watching a movie or TV (and better drawing than snacking, right??).
This simple composition book now acts as a great reference for lettering and it's also a great journal and record WITHOUT BEING A TRADITIONAL, FORMAL JOURNAL/DIARY! This is a win/win for me.

So here are my latest Sunday Sketches done in the ol' comp book:
 Still not sure if I'm going to add some color to her...

This took longer than I expected but was fun to do and is definitely something I want to work on some more. I'm thinking of adding a bit of color to this one too. 

Saturday, August 17, 2013

Newest Name Signs

 This one is for a friend's brand new beautiful baby.
And this one is for my daughter's sweet friend.

I went a little more funky with the lettering on these since they were gifts so I could do what I want. :) I sprinkled in some capital letters. I kind of like the different look.

Sunday, July 21, 2013

A Pirate...and some chocolate

My daughter has been performing in a wonderful production of the Pirates of Penzance in a local children's theater group. Their final performance was last night. I made this little drawing of a pirate to look after the treat we brought for their cast party.

(Original recipe for the pretzel treats came from Family Fun Magazine years ago, but can also be found HERE).

We used only red and brown M&M's because they seemed to fit a proper pirate color scheme (according to my daughter). The treats and the drawing were a hit. The play was a bring-down-the-house "wow that was completely amazing!" hit!

Thursday, July 18, 2013

A Gift for a Sweet Little Girl

My friend's daughter is getting baptized today so I thought she needed something pretty to commemorate her special day.

This is another one of my chipboard paintings (this one done on the backing to a notepad). The frame is a simple 5"x 7" wood frame that I sanded, painted a soft lilac color, and then distressed. I added the little ribbons as a fun accent to one side of the frame.
Molly's Baptism Flowers, 2013, 5" x 7", mixed media on chipboard

Newest Name Sign

A gift for a friend's newest little one.

Friday, June 14, 2013

Drawing People Summer Art Class - Day 5

Day 5 (our last day of class) - Putting it All Together

We did a really quick review of the steps we've been working on all week.
And then the kids got to work on their final drawing. They did this drawing in their sketchbooks. When they were finished we compared them to the drawings they did on Day 1. I love this part! It's so fun to see the pride and surprise on the kids' faces when they see their final drawing compared to their first drawing! I love it! They all want to get rid of their first drawings but I say KEEP IT. It's so fun to be able to compare and see the progress they've made.
Age 14

Age 13

Age 10

Age 11

Age 15

Age 14

I love that a lot of the kids stuck with the same basic age, hair style, and gender of the subjects of both drawings. This was done completely subconsciously since they haven't seen those first drawings since the first day. But that's sort of where the similarities ended. They all achieved wonderful realism and depth and emotion in their final drawings!

Then to kind of let our hair down and unwind at the end of our week together, we did some drawings on chipboard where we broke all the rules. (We used THIS METHOD that I discussed in an earlier post).


This was a GREAT group of kids and I thoroughly enjoyed spending this week with them!!

Take home assignment??
Practice, practice, practice. Drawing people is like doing anything else. It takes practice and the more you do it, the better you get!

LinkWithin

Related Posts with Thumbnails